In this article, we will explain how to set up and use MOBIT's create/update contact Zapier action. For a more generic article on creating a Zap, you should check out Zapiers own article.
About
An action is something your zap does after a trigger occurs. A zap can only have one trigger, but it can have many actions. As an example, you use a zap to take Wufoo form entries (the trigger) and add them to your MOBIT account (the action), using MOBIT's create/update contact action.
General Set-up
To set up your MOBIT action, you will need to have set up a Trigger first.
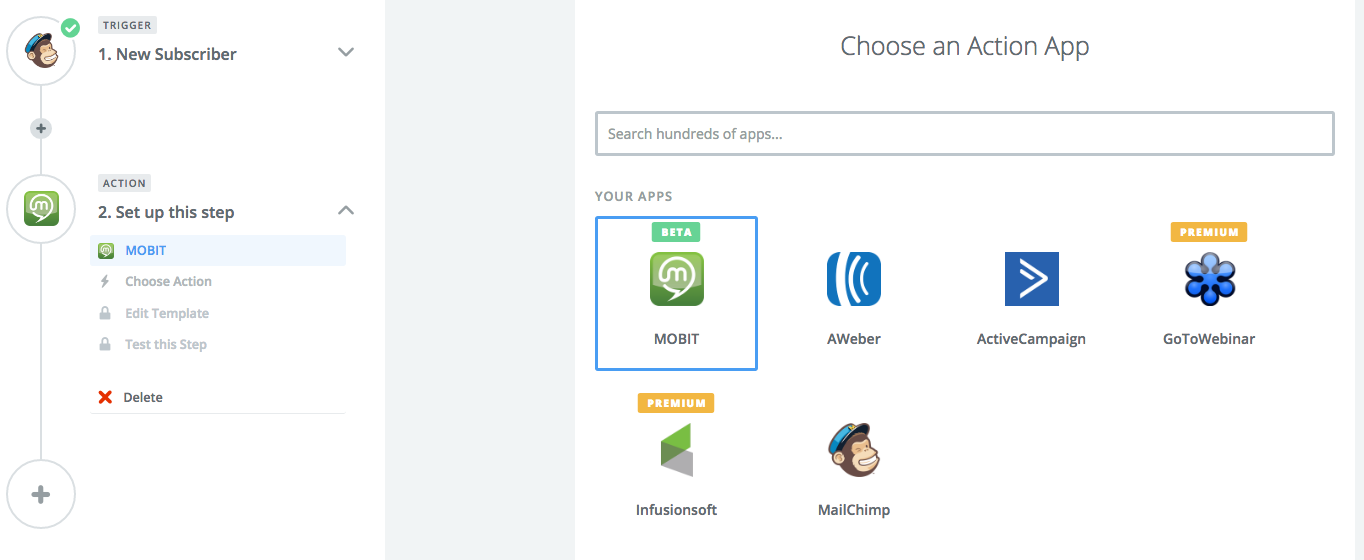
1 - Select MOBIT as your Action App. It is important to note that while MOBIT's Zapier app is fully functional, it is still in invite-only mode and is not publicly available in Zapier. Only invited users can use our app on Zapier. To be invited, contact us.
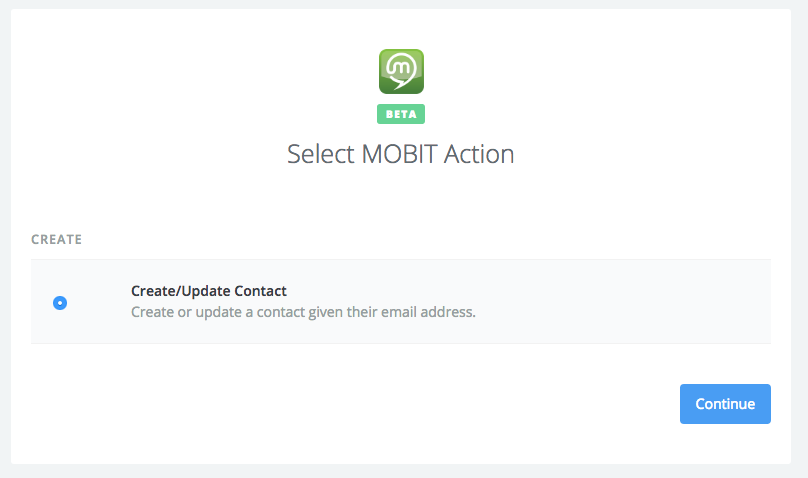
2 - Select the only available MOBIT action, create/update contact. Click continue
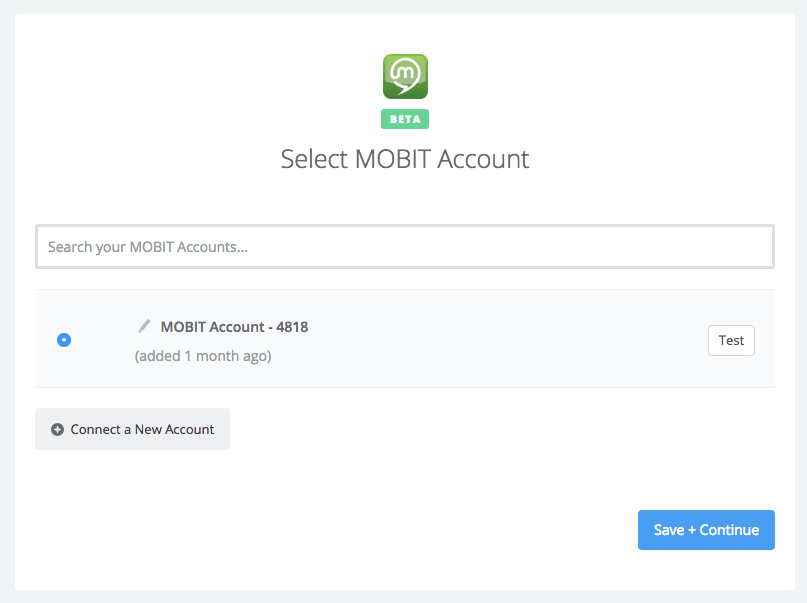
3 - Choose your MOBIT account and click Save + Continue. If you have not done so, click here to learn how to connect your MOBIT account with Zapier.
4 - Set up your action template. This section is covered in more detail below.
5 - Follow the prompts in Zapier to test and put your Zap live.
Set up Action Template
This step is the most critical in ensuring your zap performs the action in the way you intend. In this step you'll see various fields from the action that you can fill in. Some are required while others are optional. Use the + button to the right of a field to bring up a list of fields you can use to populate. In some cases, you'll see the fields available with options from your trigger. Next to the name of the field is a sample value that helps to clarify what info you can expect to be in that field.
Achieve MOBIT Campaign Goal
This allows you to start a contact into a MOBIT campaign. For more info on how this works, read this article.